As an optical Spherical Lens manufacturer, Sunday Optics helps engineers select and use plano-concave lenses for laser beam expansion, beam spacing, and optical system design. This guide explains the working principle, required tools, setup steps, selection criteria, calculations, and common mistakes that affect beam quality.
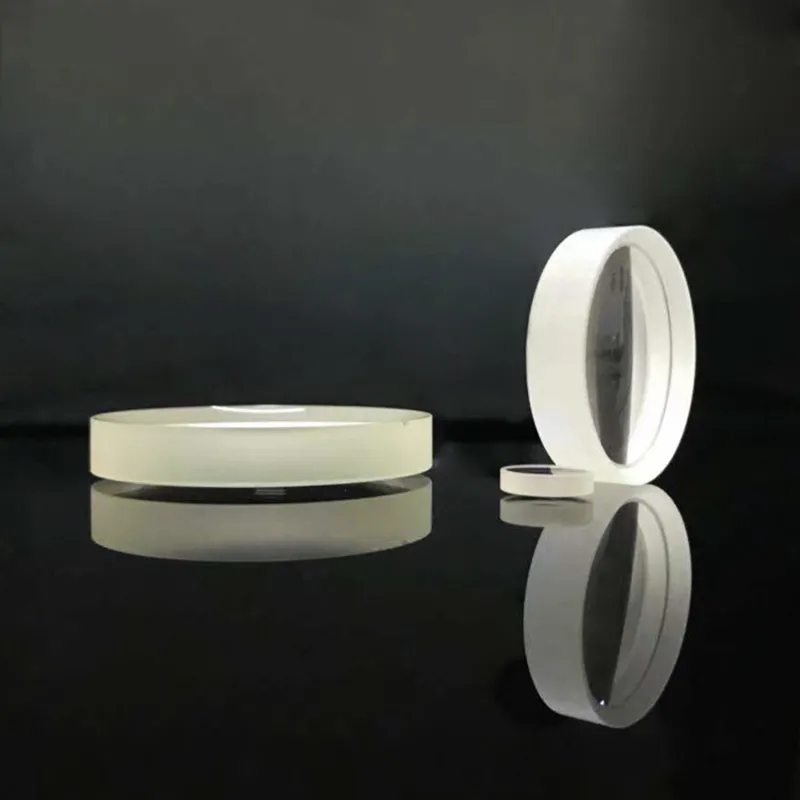
Understand how a plano-concave lens expands a laser beam
A plano-concave lens creates a diverging wavefront
A plano-concave lens has one flat surface and one inward-curved surface. When a collimated laser beam passes through the lens, the lens causes the rays to spread outward as though they originated from a virtual focal point in front of the lens.
- The incoming beam is approximately collimated.
- The concave surface changes the direction of the transmitted rays.
- The outgoing beam becomes divergent.
- The beam diameter increases as the propagation distance increases.
The lens does not usually produce a larger collimated beam by itself. It first causes the beam to diverge. A second positive lens, normally a plano-convex or achromatic lens, is then used to collimate the expanded beam.
A single lens can provide temporary beam expansion
If the application only requires the beam to spread over a short distance, a plano-concave lens may be used alone. Examples include illuminating a larger detector area, increasing the spot size at a target, or creating a divergent beam for an optical experiment.
For applications that need a larger beam that remains nearly parallel, use the plano-concave lens with a positive lens in a Galilean beam expander.
A Galilean beam expander uses a negative lens and a positive lens
The basic Galilean arrangement places the plano-concave lens before a positive lens. The negative lens causes the input beam to diverge, and the positive lens recollimates it before the rays become widely separated.
- The plano-concave lens is the negative focal length element.
- The positive lens is the collimating element.
- The lenses are separated by less than the sum of their focal length magnitudes.
- The output beam diameter is larger than the input beam diameter when the positive lens has a longer focal length magnitude.
For an ideal Galilean beam expander, the approximate magnification is:
Beam expansion ratio = positive lens focal length / absolute value of negative lens focal length
For example, a plano-concave lens with a focal length of -25 mm combined with a positive lens with a focal length of 100 mm can produce an approximate 4X beam expansion.
Calculate the beam diameter and lens spacing before setup
Measure the input beam diameter first
The beam expansion ratio applies to a defined beam diameter. Because a Gaussian laser beam does not have a sharp edge, specify how the diameter is measured. Common definitions include the 1/e2 beam diameter, full-width at half-maximum diameter, or an aperture-based diameter.
Record the following values:
- Input beam diameter.
- Laser wavelength.
- Beam divergence.
- Polarization direction, if relevant.
- Available optical path length.
- Required output beam diameter.
Choose the negative and positive focal lengths
Use the target expansion ratio to select the focal lengths. The ideal relationship is:
Required expansion ratio = target output diameter / input beam diameter
Then select focal lengths using:
Positive focal length = expansion ratio x absolute value of negative focal length
Example:
- Measure an input beam diameter of 2 mm.
- Set the target output diameter to 10 mm.
- Calculate the required expansion ratio: 10 mm / 2 mm = 5X.
- Select a plano-concave lens with a focal length of -20 mm.
- Select a positive lens with a focal length of approximately 100 mm.
- Use the calculated spacing as the starting point for alignment.
Set the approximate lens spacing
For a Galilean beam expander, the approximate lens separation is:
Lens spacing = positive focal length - absolute value of negative focal length
For a -20 mm plano-concave lens and a +100 mm positive lens:
Lens spacing = 100 mm - 20 mm = 80 mm
This value is an ideal starting point. The actual spacing may require adjustment because of lens thickness, principal plane locations, manufacturing tolerances, wavelength-dependent focal length, and the desired output collimation.
Prepare the tools and components for beam expansion
Required optical components
- Plano-concave lens with the correct negative focal length.
- Positive lens with the correct focal length.
- Lens mounts that match the lens diameter.
- Optical rail or breadboard.
- Adjustable translation stage for fine lens spacing.
- Beam dump or approved laser termination.
- Input and output apertures, if beam size control is required.
- Beam steering mirrors, if the optical path requires them.
Required measurement and alignment tools
- Laser power meter.
- Beam profiler or camera-based beam measurement system.
- Beam cards or fluorescent viewing cards suitable for the wavelength.
- Calibrated ruler or optical measuring scale.
- Lens tissue and approved optical cleaning solution.
- Allen keys or mount adjustment tools.
- Laser safety eyewear rated for the operating wavelength and power.
- Beam enclosure or protective barriers for high-power systems.
Check the lens specifications before installation
Confirm that the selected lens is compatible with the laser and mechanical system. Review the following specifications:
- Negative focal length and focal length tolerance.
- Clear aperture.
- Center thickness and edge thickness.
- Diameter or length and width for rectangular lenses.
- Substrate material.
- Surface quality and surface accuracy.
- Laser damage threshold.
- Anti-reflection coating range.
- Coating angle of incidence.
- Operating wavelength and temperature range.
Install the plano-concave lens step by step
First step: Make the laser path safe
- Turn off the laser before installing or removing any component.
- Wear wavelength-appropriate laser safety eyewear.
- Install a beam dump at the end of the optical path.
- Remove reflective tools, jewelry, and unnecessary components from the work area.
- Use a beam enclosure when the laser power or wavelength requires additional protection.
Second step: Establish a straight reference beam
- Mount the laser securely on the optical table.
- Set the beam height using two alignment irises or reference targets.
- Adjust the laser or steering mirrors until the beam travels parallel to the optical table.
- Confirm that the beam remains centered at several points along the optical path.
Third step: Mount the plano-concave lens
- Inspect the lens under clean, suitable lighting.
- Do not touch either optical surface with bare fingers.
- Place the lens in a mount that does not apply excessive mechanical stress.
- Center the lens on the laser axis.
- Position the plano-concave lens so the beam passes through its clear aperture.
- For a Galilean beam expander, install the plano-concave lens before the positive lens.
The orientation of a plano-concave lens can affect aberration, reflection, and mechanical clearance. Follow the optical design drawing or supplier recommendation when a specific orientation is required. For basic low-power alignment, the most important requirements are correct lens position, clean surfaces, adequate clear aperture, and accurate centering.
Fourth step: Observe the diverging beam
- Reduce the laser power if possible.
- Place a beam card or sensor several centimeters after the negative lens.
- Move the card farther from the lens and record the beam diameter at each position.
- Confirm that the measured diameter increases with distance.
- Check that the beam remains centered and circular enough for the application.
For a beam with a small divergence angle, the approximate beam diameter at distance z is:
Output diameter = input diameter + 2 x z x divergence angle
Use consistent units and treat the formula as an approximation. A Gaussian beam, finite aperture, and lens aberrations can cause the measured result to differ from the simple geometric prediction.
Fifth step: Add the positive collimating lens
- Mount the positive lens after the plano-concave lens.
- Start with the approximate spacing calculated from the two focal lengths.
- Keep both lenses on the same optical axis.
- Use a translation stage to move the positive lens in small increments.
- Measure the output beam diameter at two or more distances.
- Adjust the spacing until the output diameter changes as little as possible with propagation distance.
Sixth step: Fine-tune collimation and beam quality
- Measure the beam diameter close to the output lens.
- Measure the beam diameter farther down the optical path.
- If the beam continues to expand, adjust the positive lens toward or away from the negative lens in small increments.
- If the beam converges, make the opposite spacing adjustment.
- Use a beam profiler to check the beam waist, ellipticity, hot spots, and higher-order structure.
- Lock the lens mounts after the desired output is achieved.
Choose the right plano-concave lens for the application
Match the focal length to the desired expansion ratio
A short negative focal length produces stronger divergence and allows a shorter optical system. A longer negative focal length produces weaker divergence and generally requires a longer system or a different positive lens.
- Short focal length: compact design and strong beam spreading.
- Long focal length: gentler divergence and easier control over beam diameter.
- Large expansion ratio: requires a suitable combination of positive and negative focal lengths.
- High precision expansion: requires accurate focal length tolerances and stable mounts.
Match the clear aperture to the beam size
The clear aperture must be larger than the beam diameter at the lens position. A small aperture can clip the outer portion of the beam and create diffraction, distortion, and power loss.
As a practical starting point, allow additional margin beyond the measured beam diameter. The required margin depends on the beam profile, alignment stability, laser power, and acceptable loss.
Select the coating for the laser wavelength
An anti-reflection coating designed for the laser wavelength reduces reflection losses and unwanted feedback. A coating intended for visible light may perform poorly at ultraviolet or infrared wavelengths.
Verify the following:
- Coating center wavelength.
- Usable bandwidth.
- Angle of incidence.
- Reflectance specification.
- Polarization dependence.
- Laser damage threshold.
Consider beam quality and aberration
A plano-concave lens is a spherical lens, so it can introduce spherical aberration. The effect becomes more noticeable with large beam diameters, short focal lengths, high numerical aperture, and demanding focusing or imaging requirements.
For improved performance, consider:
- High-precision surface fabrication.
- Low-absorption substrate material.
- High-quality anti-reflection coating.
- Suitable lens orientation.
- An achromatic or aspheric alternative when the application requires lower aberration.
- A custom optical design when the beam must remain highly uniform over a long distance.
Compare a single plano-concave lens with a Galilean beam expander
Use a single plano-concave lens when simplicity is the priority
- Fewer optical components.
- Lower initial cost.
- Simple installation.
- Useful for creating a diverging beam.
- Suitable when the beam size can change with propagation distance.
The main limitation is that the output beam is not collimated. The spot size will continue to change as the beam travels.
Use a Galilean beam expander when a larger collimated beam is required
- Produces an expanded beam with low residual divergence when correctly adjusted.
- Uses fewer lenses than a Keplerian beam expander.
- Does not require an internal real focus.
- Can be more compact than a comparable positive-positive system.
- Can reduce the risk of high irradiance at an internal focus.
The system still requires careful spacing, alignment, lens quality, and beam measurement. A large expansion ratio can also make the system more sensitive to lens tilt and decentering.
Consider a Keplerian beam expander for accessible intermediate focusing
A Keplerian beam expander uses two positive lenses and creates a real focus between them. This arrangement can provide access to the beam waist and may offer design flexibility, but the internal focus can be unsuitable for high-power lasers or applications that are sensitive to air breakdown and contamination.
Avoid common beam expansion mistakes
Do not use the lens without checking the focal length sign
A plano-concave lens has a negative focal length. Replacing it with a plano-convex lens changes the optical behavior and may cause convergence instead of divergence.
Do not assume the nominal diameter equals the usable aperture
The outer edge of a lens may be blocked by the mount or may not meet the specified optical quality. Confirm the clear aperture before calculating the maximum beam size.
Do not install lenses off-axis
Decentering or tilting a lens can produce beam walk-off, astigmatism, uneven illumination, and additional pointing error. Use irises, alignment targets, or a beam profiler to verify the axis.
Do not set lens spacing from focal lengths alone
The simple spacing formula is only a starting point. Principal plane locations, lens thickness, substrate index, coating performance, and measurement location affect the final result. Always verify the spacing experimentally.
Do not ignore the laser wavelength
Refractive index and focal length vary with wavelength. A lens designed for one wavelength may not produce the expected beam expansion at another wavelength.
Do not clean the lens with unsuitable materials
- Do not use paper towels or abrasive wipes.
- Do not wipe a dusty surface before removing loose particles.
- Do not use a solvent that can damage the coating or mount.
- Use approved lens tissue and optical cleaning procedures.
Do not measure only one beam position
A beam can appear collimated at one location while still expanding or converging farther away. Measure at several distances to determine the actual divergence and confirm the output beam quality.
Troubleshoot poor beam expansion results
The beam is not expanding as expected
- Confirm that the negative lens is installed before the positive lens.
- Check that the laser is actually entering the plano-concave lens.
- Verify the focal length markings and units.
- Check whether the beam is clipped by the mount.
- Measure the beam at multiple distances.
The output beam is elliptical or distorted
- Check for lens tilt.
- Check for lens decentering.
- Inspect the lens for contamination or damage.
- Confirm that the input beam is not already strongly elliptical.
- Verify that the beam is not being clipped by an aperture.
The output beam is still converging or diverging
- Measure the beam diameter near the output lens.
- Measure the diameter farther from the output lens.
- Determine whether the beam is expanding or shrinking.
- Move the positive lens by a small amount.
- Repeat the measurements until the change in diameter is minimized.
The transmitted power is lower than expected
- Check the anti-reflection coating wavelength.
- Inspect both lens surfaces for contamination.
- Confirm that the beam is centered on the clear aperture.
- Check whether an aperture or mount is clipping the beam.
- Verify that the power meter is correctly calibrated for the wavelength.
Use this purchasing checklist before ordering
Confirm the optical requirements
- Laser wavelength.
- Input beam diameter.
- Required output beam diameter.
- Required expansion ratio.
- Beam divergence tolerance.
- Laser power and pulse characteristics.
- Polarization requirements.
- Acceptable wavefront distortion.
Confirm the mechanical requirements
- Lens diameter and mount compatibility.
- Available optical path length.
- Required lens spacing.
- Adjustment range for alignment.
- Environmental temperature and humidity.
- Vibration and shock conditions.
Request the right supplier information
Before purchasing, request a drawing and specification sheet that clearly state the focal length tolerance, clear aperture, coating performance, surface quality, surface accuracy, substrate, centration, and laser damage threshold.
For demanding systems, also request sample measurement data, coating test information, and recommendations for lens orientation and mounting. A qualified supplier should be able to help match the plano-concave lens with the positive lens instead of treating the two components as unrelated products.
When you need reliable beam expansion components, work with Sunday Optics for application-specific optical guidance, custom lens options, and production support from an optical spherical lens manufacturer.


